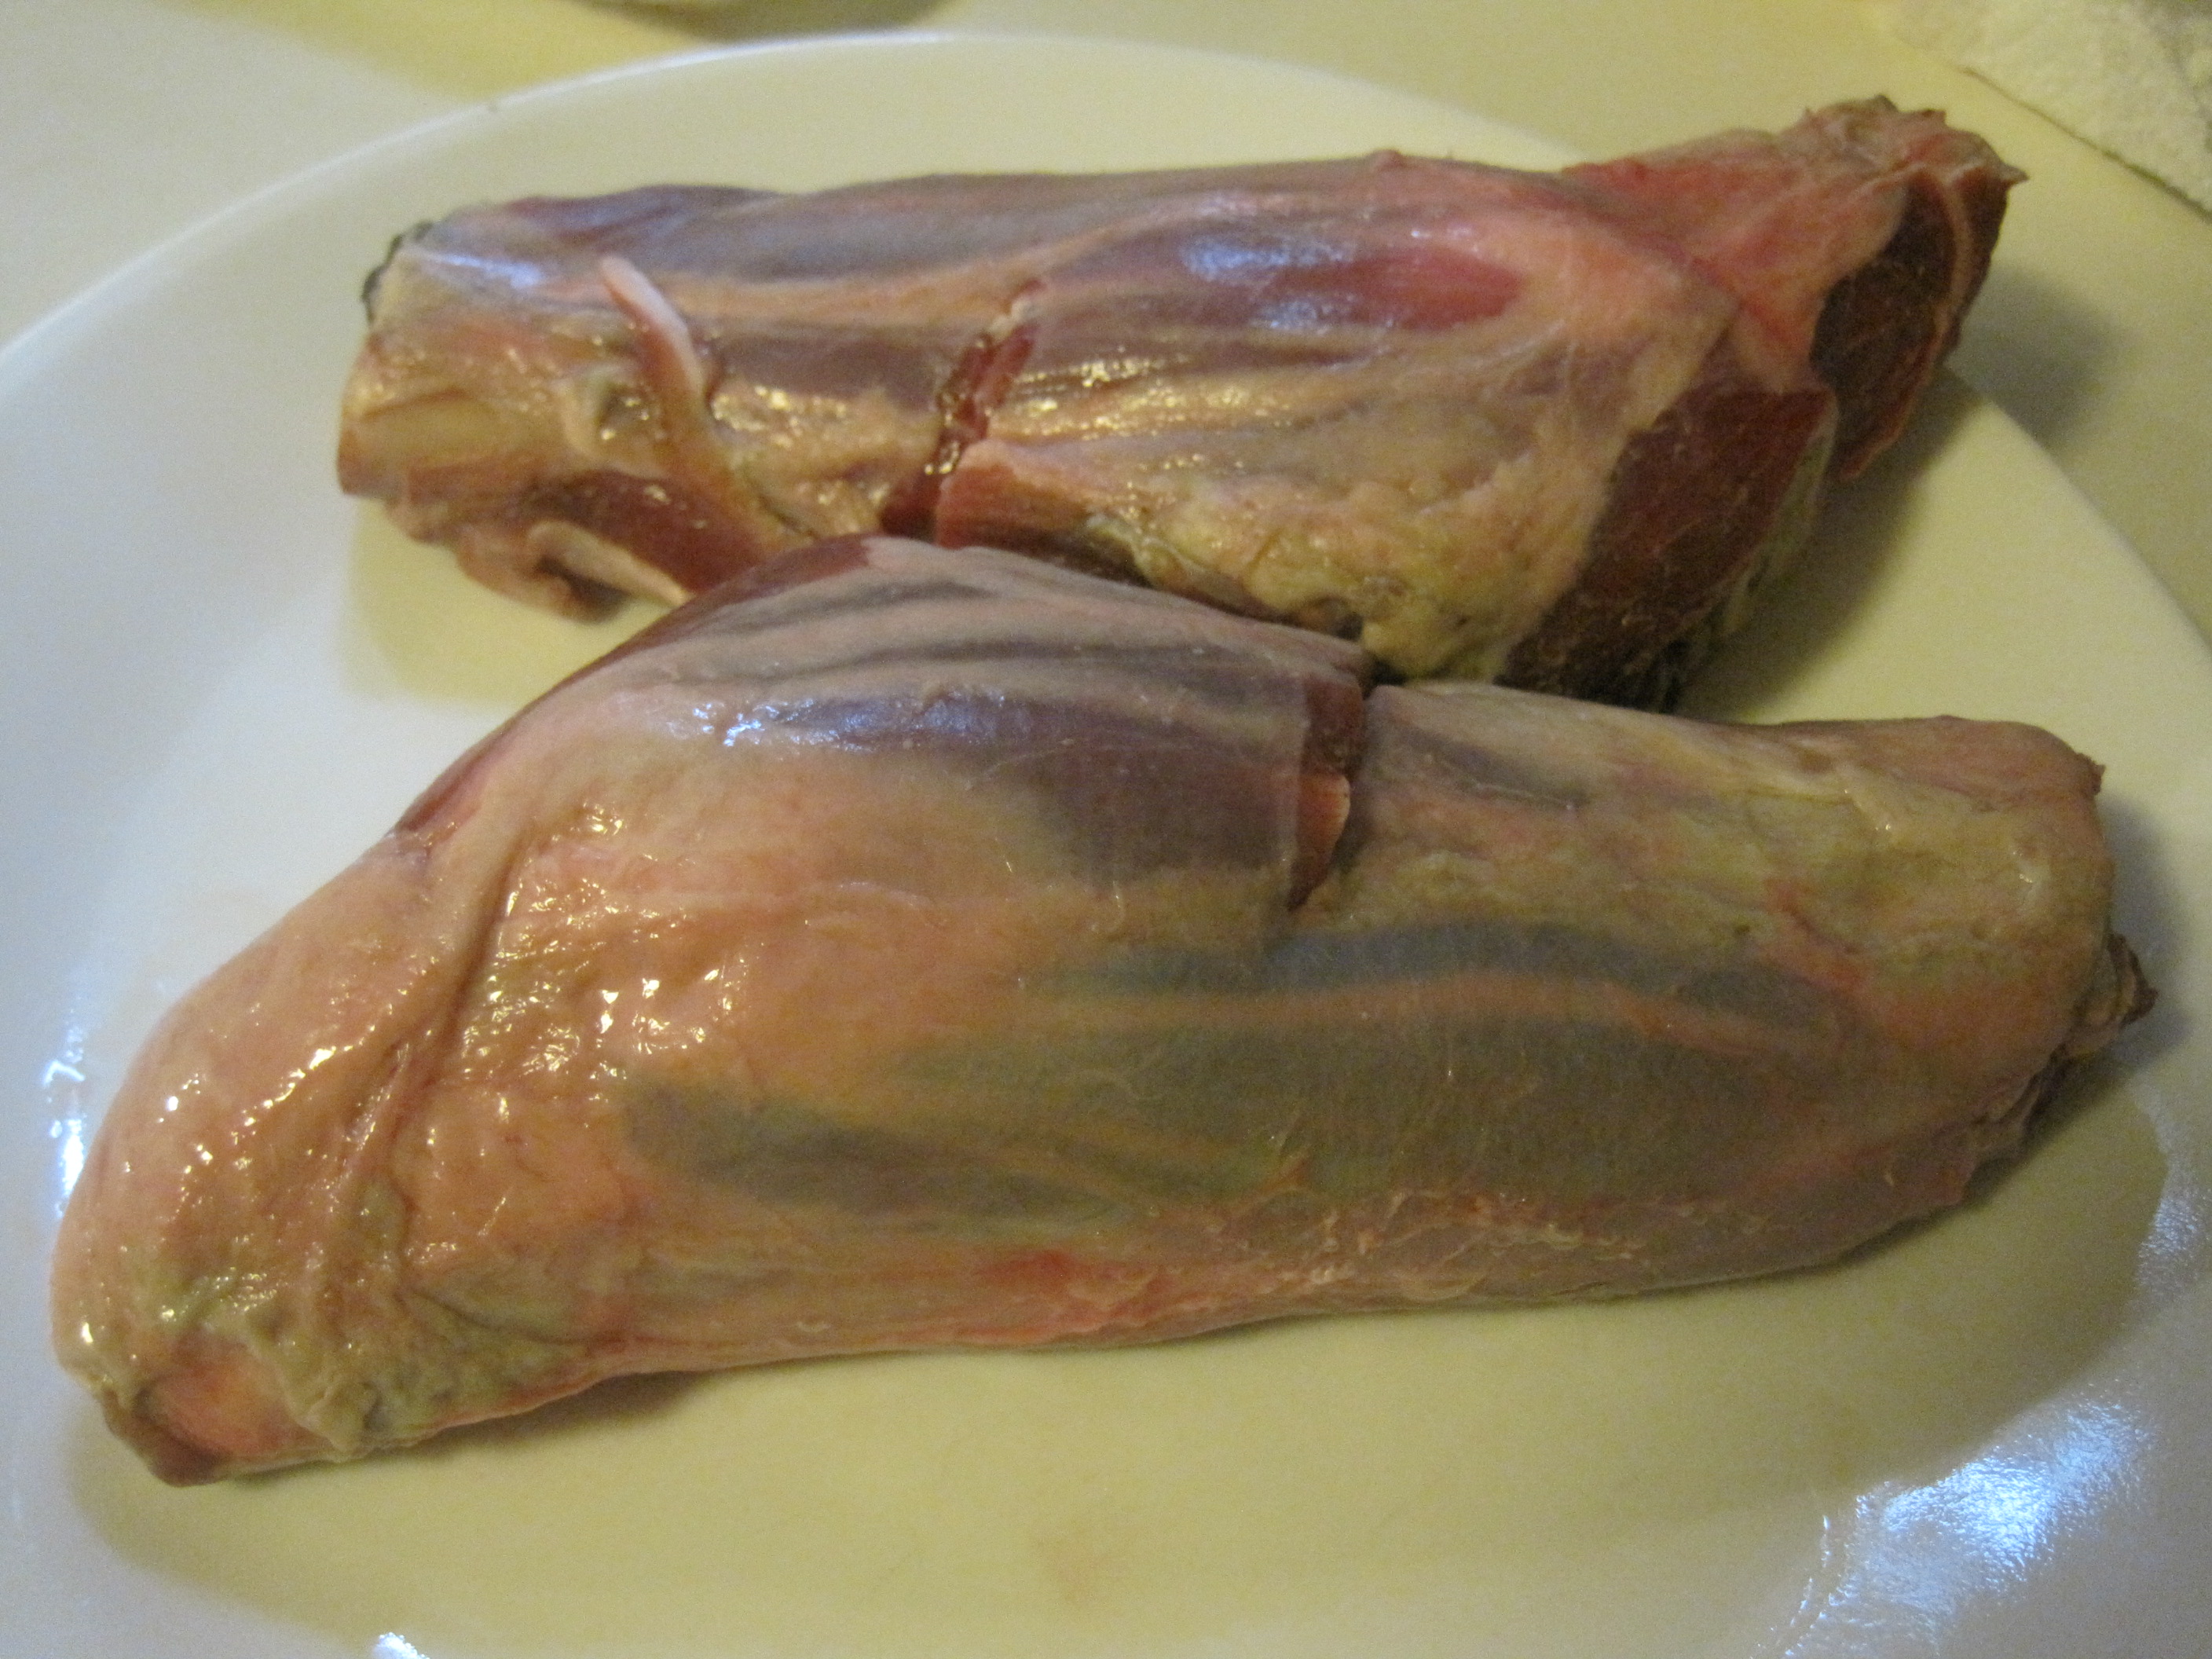
I was shopping for meat at the supermarket, and not finding many bargains among the beef offerings. There were some interesting cuts among the pork, though. Hormel had these pork loin roasts for around $5.00, but they were as much as 30% water by weight. I wasn’t interested in buying water at 3-4 dollars a pound. There were also some pork loin roasts though, that had been priced reduced to 3.50 a pound and that sounded interesting. I picked one up.

img_6920

Looking around for pork loin sous vide recipes, the one I found first was this one, by Dan Gourmet. I will note he brines his meat overnight, and uses maple syrup as his sweetener. I’m diabetic, and I didn’t want to add anything too ridiculously sweet to the meat. Further, I wasn’t wanting to brine overnight, or for that matter, use any potent brining recipes (this one, for example, has a fair amount of negative comment on the web, if you’ll look around. See here, or here). I decided I’d find a simple basic recipe, and work from there.

A generic introduction to brining is this About.com article. This article on CookShack.com talks about brining in the context of smoking meats. (1) More to my purposes, two online resources that are good for simple brining formulas are found on food.com and thekitchn.com. The first resource, from food.com, is a generic brine for multiple meats, useful, for example, in plumping up a chicken. The second reference, from thekitchn.com and Emma Christensen, is a base brine plus some aromatic suggestions.

In terms of aromatics (spices) that might go well with a pork loin roast, a place to start is here.

As a sweetener, my wife has found Truvia to be reliable. With Truvia, 3/4 tablespoon of the product replaces 2 tablespoons of sugar. In terms of aromatics used in pork brines, Dan Gourmet uses peppercorns, and I saw another brine that used 3 cloves of garlic. Those were the aromatics I used. Often when infusing flavors through the brine, you will see recipes that use 1 part hot water (steep the aromatics in these), one part room temperature water, and then two parts ice cubes. (2) I didn’t do anything fancy. I started with cold water, and once my sugar and salt were dissolved, added my aromatics.

Used to make the brine.

Used to make the brine.

So, ultimately, for a pound and a half of pork, I used:

  • 1.5 quarts of water.
  • 3 tbsp of salt.
  • Truvia equivalent to 3 tbsp of sugar.
  • 3 cloves of garlic, crushed.
  • 1 tbsp of crushed black pepper, from a pepper mill.

A note: When dissolving salt and sugar, use the least amount of water possible to dissolve these two items, and then add the remaining liquid and aromatics.

This was just enough brine to cover the roast. I let the meat soak in the refrigerator for an hour and 45 minutes, and then removed it.

img_6923

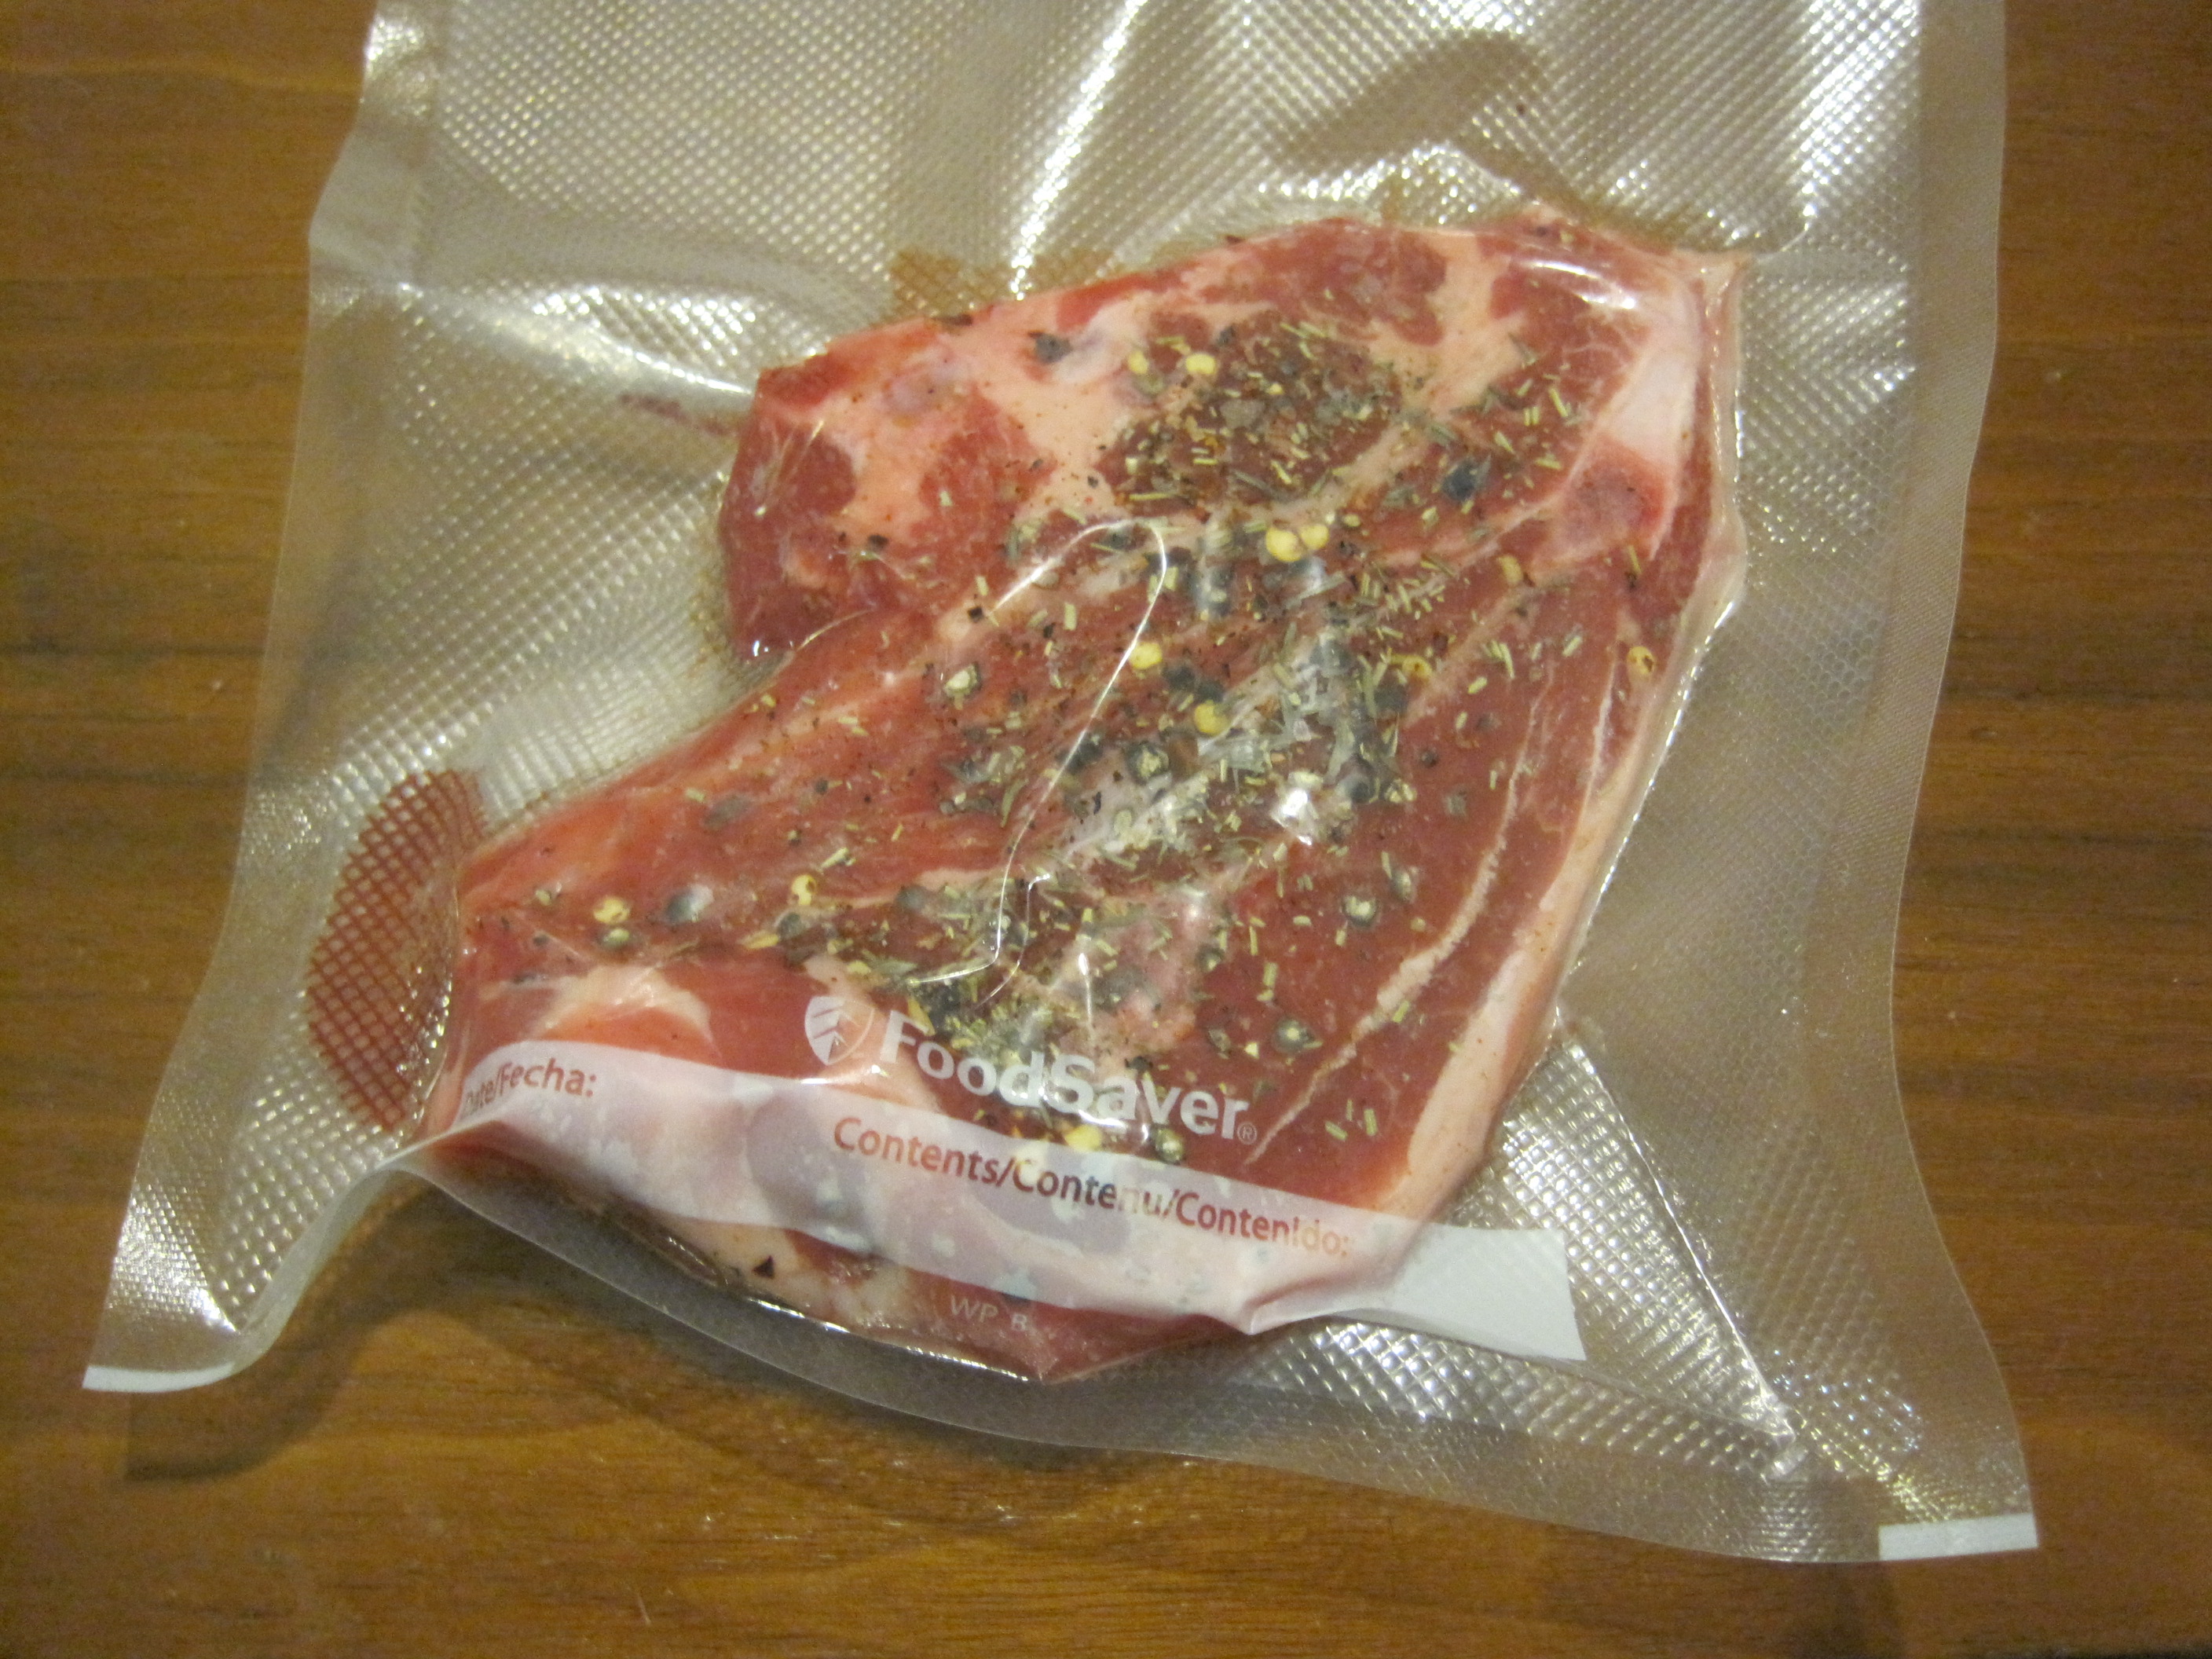
I washed the meat under the faucet, dried it with paper towels, and then chose a couple spices to add to the meat once we bagged it.

img_6924

Along with thyme (pictured above) I added a bit more crushed black pepper and some onion powder. I made the working assumption that garlic flavor was imparted by the brine. This then was sealed and placed in the fridge for an hour or two, until it became time to cook.

img_6925

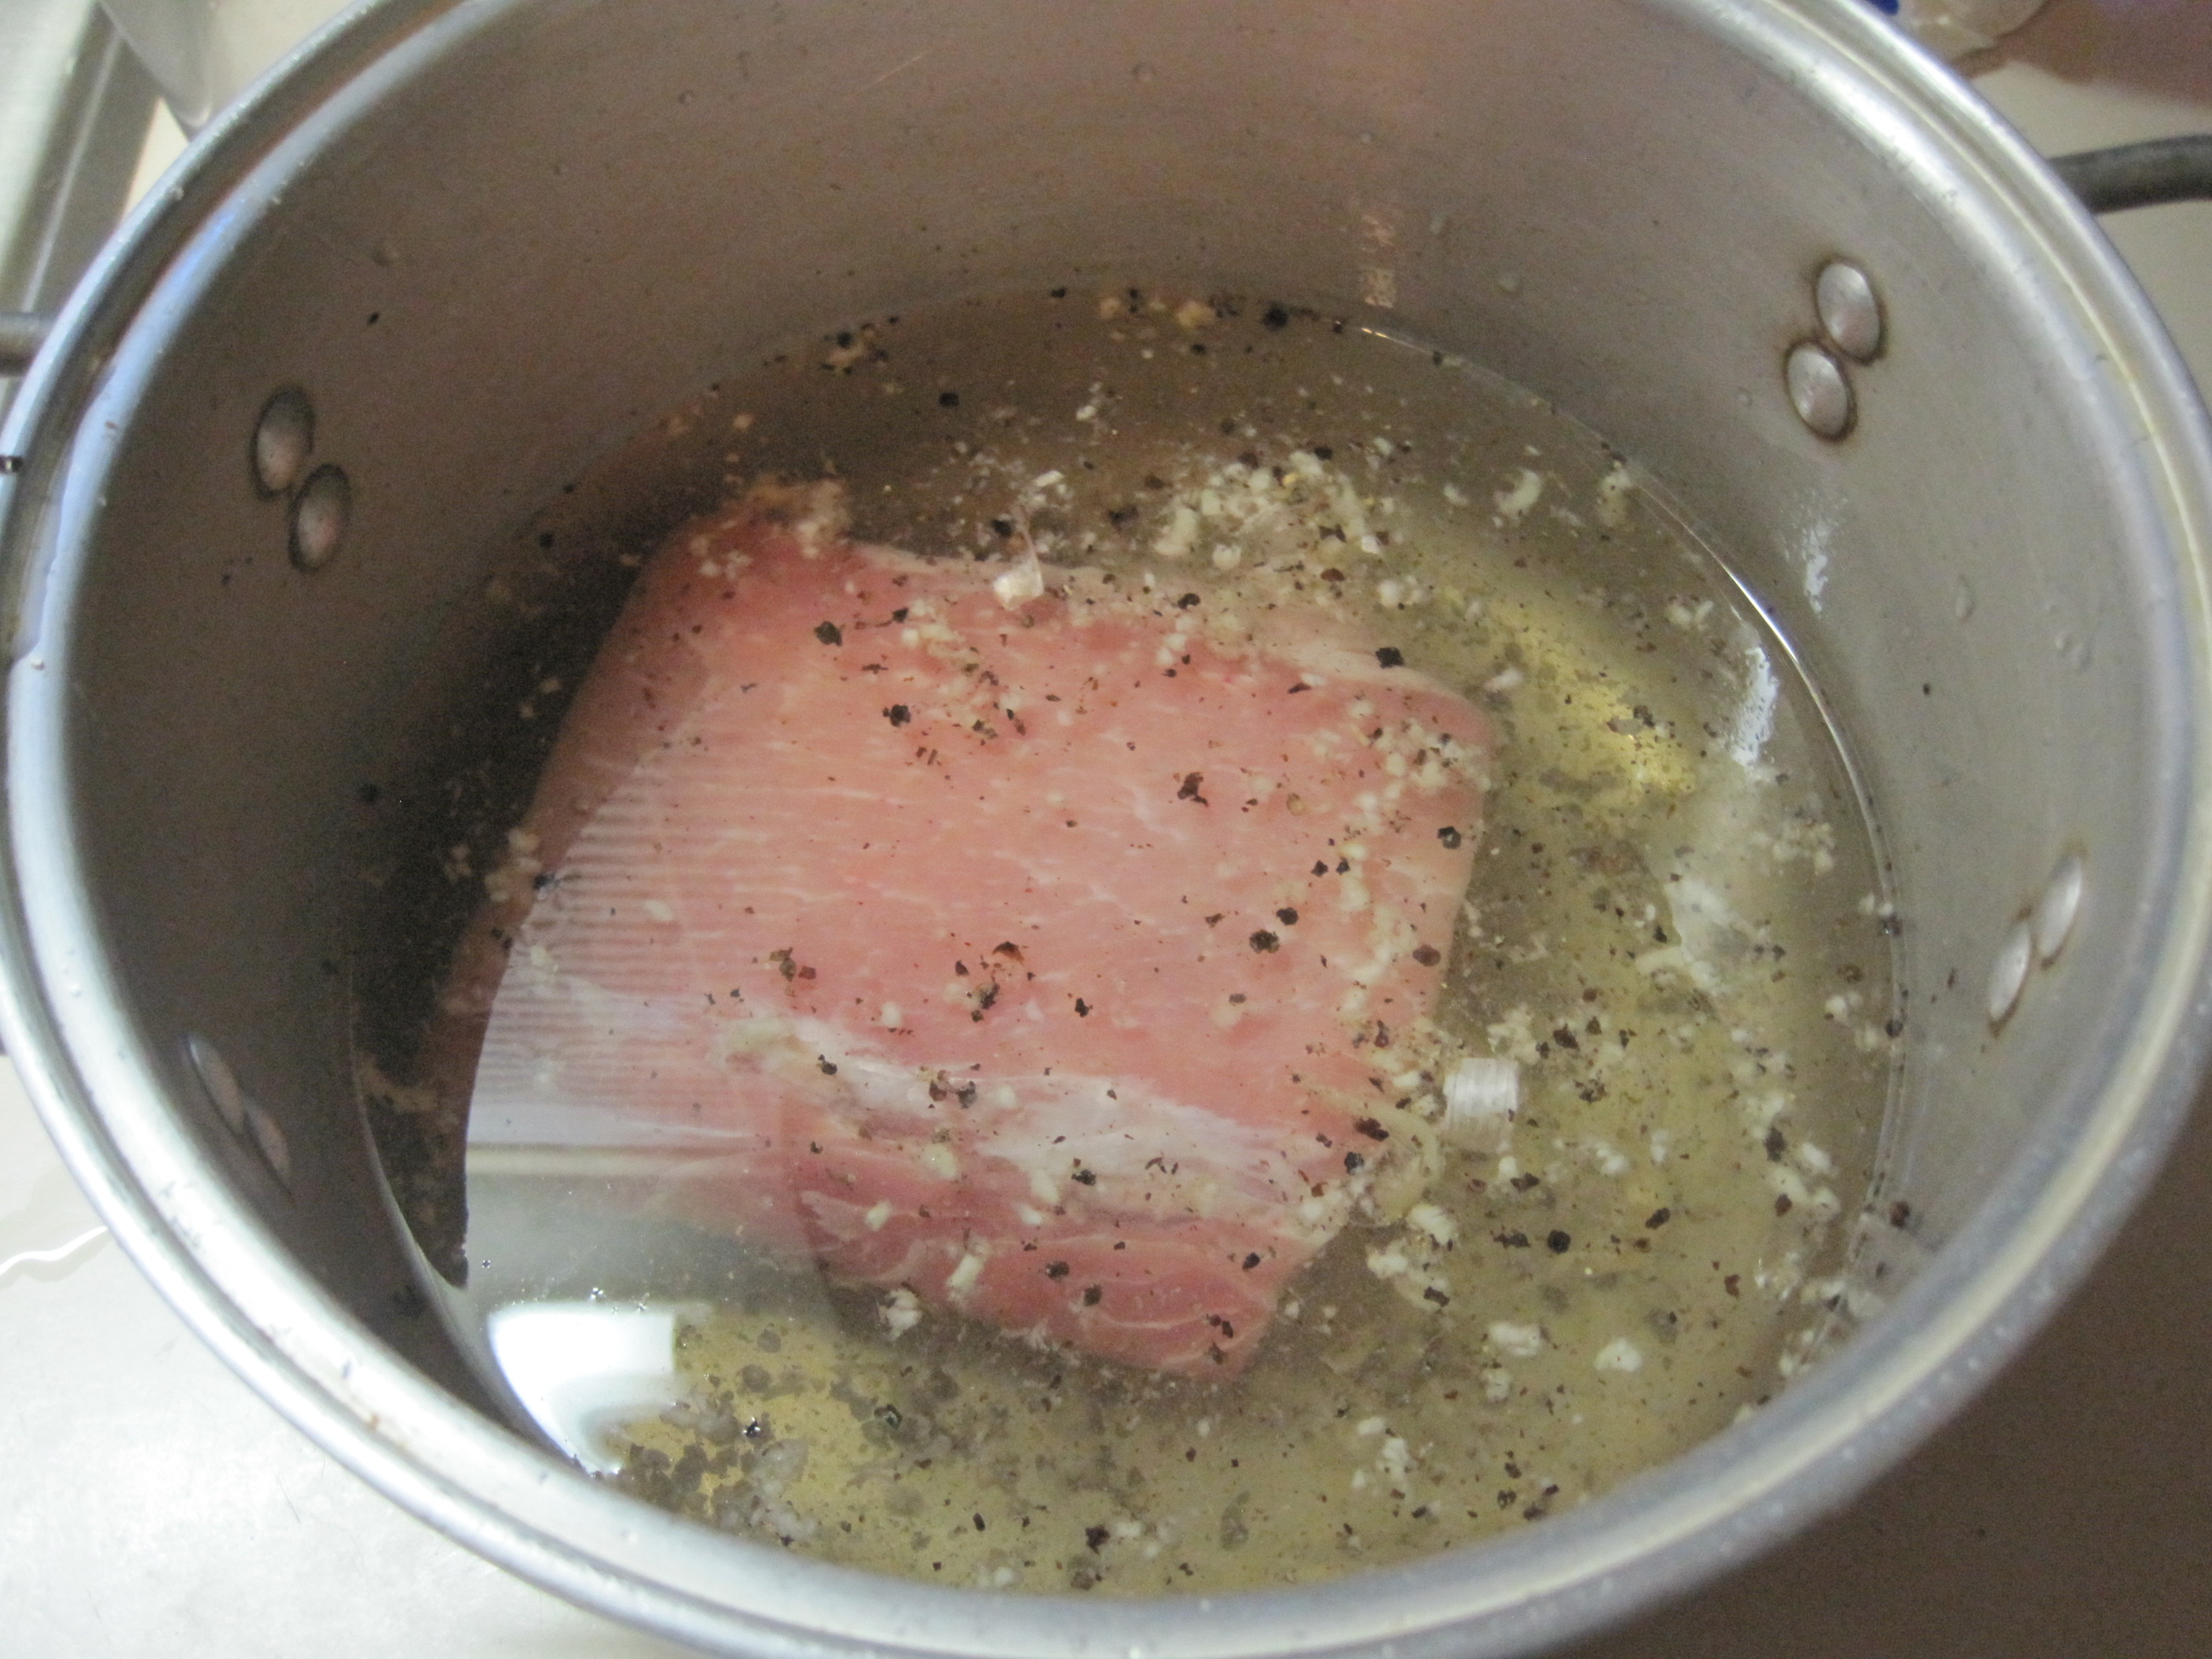
I cooked the meat in a sous vide apparatus at 140 F for 6 hours.

Pork in the pot.

Pork in the pot. Because of the algorithm used by the Auberge to control temperature, the temperature peaks above 140 degrees for a while.

Afterwards, we fished the meat out of the pot. The smell of the meat was fantastic. There are plenty of juices, so if you can follow Stefan Gourmet’s formula for handing sous vide juices, you can make a reduction from this liquid.

Finished.  The aroma is notable coming out of the pot.

Finished. The aroma is notable coming out of the pot.

The meat, sliced. Slices didn't last long.

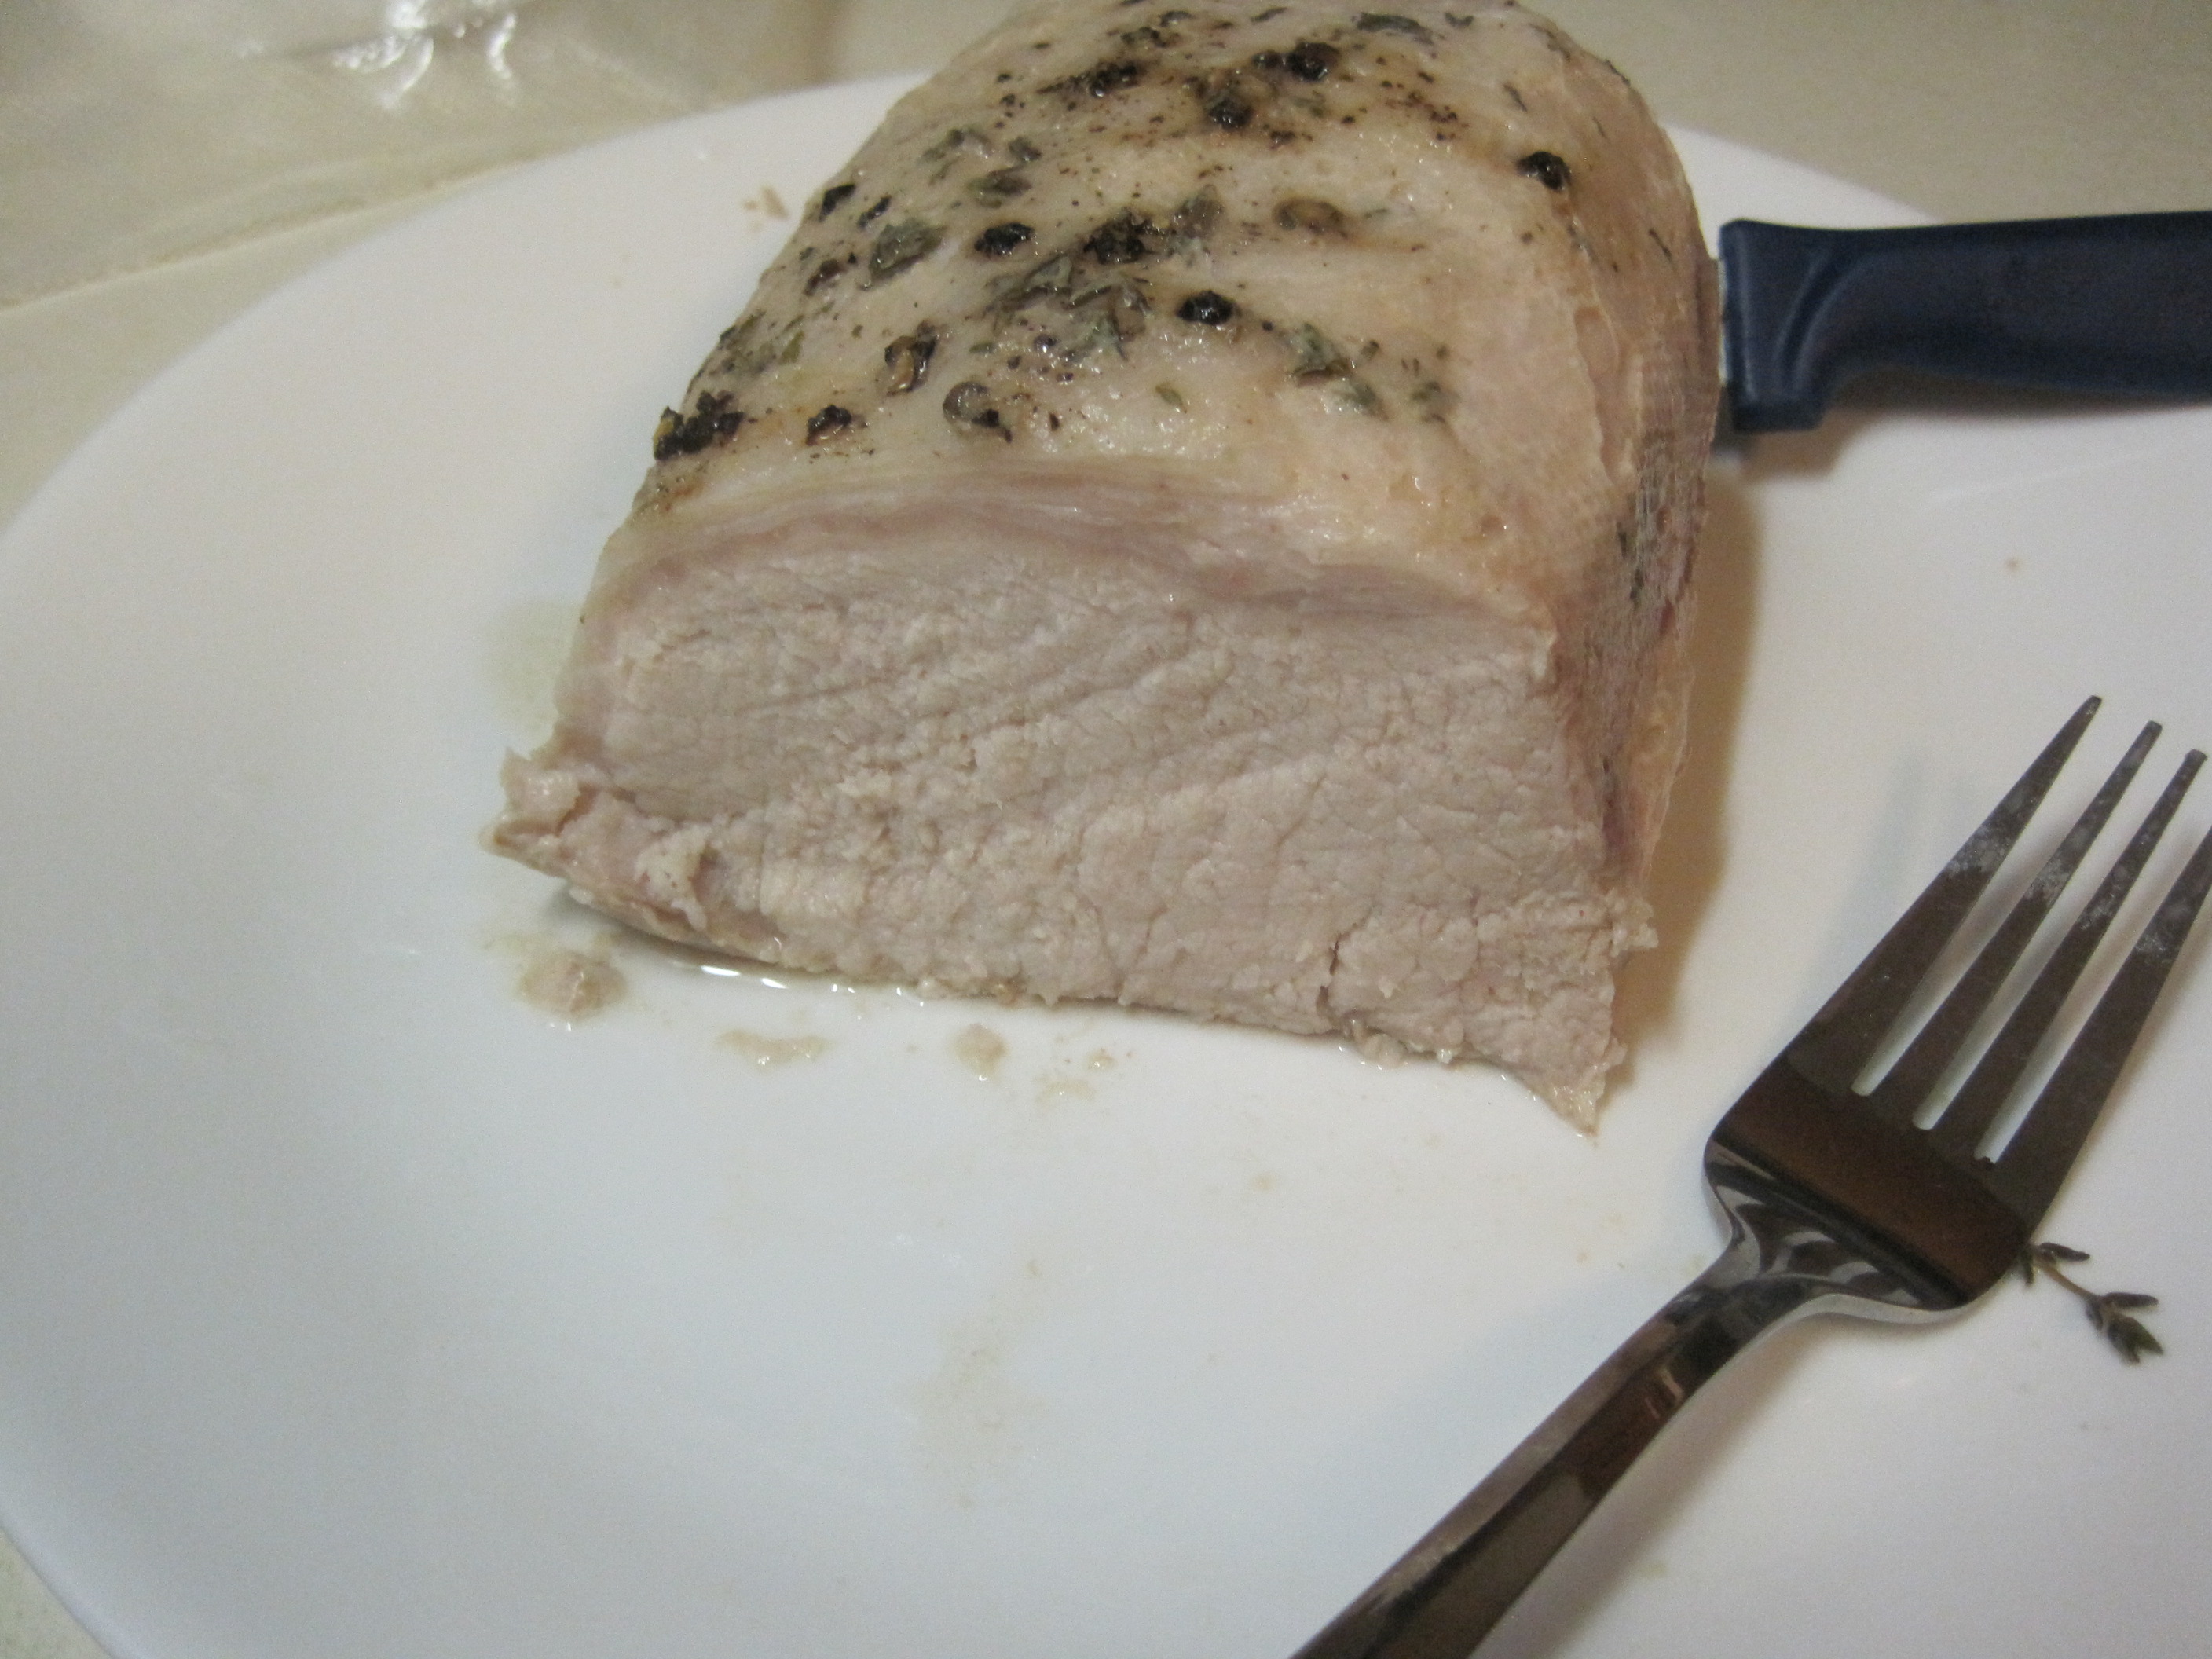
The meat, sliced. Slices didn’t last long.

The meat itself was essentially white, was flavorful, and was really juicy. The word that comes to mind is amazing. The chunk of meat lasted about 10 minutes. We cut off slices and ate it on the spot. In terms of pleasing just about everyone in my family, this compares to a sous vide buffalo sirloin, and my wife much prefers pork to steak.

Notes:

(1) An important point made in this article is that the combined osmotic effect of both sugar and salt are important in “sugar” brines (i.e. brines that contain sugar). Both the amount of sugar and the amount of salt are important. This was not something I caught onto until after I had made the brine above, and probably affects the ability of Truvia to really replace sugar in a brine.

(2) Indian cooks “break open” spices by pan frying spices in ghee, and I can’t help but wonder if something similar could be done in a non-stick pan with a very minimal amount of oil or cooking spray. That’s an experiment for another time.

Lamb shanks were a meat I picked up while picking up lamb chops. Dalia’s does a mean lamb shank, and I was looking for something straightforward to do with lamb, that didn’t involve a lamb steak style prep. Stefan Gourmet had a good looking lamb shank recipe, so I took his approach when trying to make this dish.

The meat itself came from Australia and was, to be plain, a little butchered. The pieces were nearly cut in two in the middle.

img_6906

We coated the meat in olive oil, the leaves of fresh thyme, salt, a pepper blend, a light dusting of garlic and onion powder and sealed the meat in a bag.

img_6908

This went into a sous vide pot and was cooked for 48 hours at 144 F. The smell of the meat after cooking was fantastic.

img_6911

Though plans had changed in the two days of cooking. I still went ahead and recovered the lamb juices. Since solids will form with unheated sous vide juices, these were poured into a pot and heated till solids formed. These solids were then strained, using a collander and wet paper towels, and placed in a jar for later use.

Solid forming in the lamb juices as they heat. The brown layer on top is later strained  off the juices.

Solid forming in the lamb juices as they heat. The brown layer on top is later strained off the juices.

The meat itself was very good, but very reminiscent of the kind of meats the Chinese favor. It’s as if the breakdown of all the connective tissue left it with a lot more gelatinous character. It also reminded me of meats that have been stewed for many hours, but without the water associated with that kind of treatment.

More gelatinous than I expected, very tender, and delicious.

More gelatinous than I expected, very tender, and delicious.

Because the meat had been nearly doubly cut, it never did hold up to much of any kind of post prep, falling apart easily. All that said, I’d do it again. Meats nearly cut in two shouldn’t be used as stand alone entrees, but perhaps as the source of meats for sandwiches, quick soups, or as a meat topping for a pasta dish.

My daughter wanted lamb chops, wanted to cook one herself and leave the other for me. I didn’t want to fight for the kitchen when she was using it, and I wanted a piece of meat cooked to the degree I wanted. Sous vide was the way to go, because I could start 2 hours ahead of time and just wait for my meat. I picked up some chops at the Publix on Pleasant Hill, the one near Fung Mei.

To note, Richard Blais has a fine sous vide recipe for lamb chops, up on the Sous Vide Supreme site. I was moving quickly with no time for marinades or fresh spices. So what I did was dry spice the meat before sealing it in the bag. I used dry rosemary and dry thyme, a large pinch of the spice on each side of the meat. I used a pepper blend instead of pure black pepper. The simplest version of the blend is cracked black pepper, crushed red pepper (i.e. the pepper flakes used on pizza), and a small amount of ground red pepper. Salt to taste, a dusting of garlic and onion powder and I sealed it in a bag.

Lamb chop, dry spiced and  ready to go into the pot.

Lamb chop, dry spiced and ready to go into the pot.

The finished meat. I added vegetables and ate it as is.

The finished meat. I added vegetables and ate it as is.

For purely idiosyncratic reasons, the meat stayed in the bag 2.5 hours at 131 F. I wasn’t interested in finishing on the stove, as I’ve found that thin meats in particular can go from medium rare to medium well before getting a decent crust. This chop wasn’t particularly thick. The chop was a fattier cut than most supermarket meats, and you have to get used to trimming sous vide meats before serving, because the fat isn’t rendered the way grilling or pan frying will.

I would say the chop compared well to other steaks I’ve cooked sous vide. I found my steak to have a little chew, and my daughter also found her meat to be chewy when pan fried. I’d consider 3 or 4 hours for meat of this quality.

I’ve cooked roasting meats to 16, 24, and 48 hour sous vide, and after a number of these experiments, tend to the following rules of thumb:

  1. 12 hour range for softer steak-like roasts (round roasts).
  2. 24 hours or so for cuts with more connective tissue, such as chuck roast.
  3. Tri tip roast, lacking connective tissue of any kind, optimal around 2 hours

This one was an experiment in overnight cooking, and times were more or less set by when I started one evening (I had an afternoon appointment) and when I normally would get up in the morning. The span of cooking was 11 hours, the technique more or less identical to this link. The meat used was a supermarket eye of round. All the spicing was dry spicing this time, though I added a touch of ground cumin to this one.

Eye of round, dry spiced and later placed in a vacuum seal bag.

After I woke up, I fished out the meat and cut. The meat was, by this point, notably tender.

A lot of the color of these roasts bleeds into the bag juices, thus they tend to be pinker than steaks cooked by the same method.

I taste tested with my daughter. She thought it a little too soft, I thought it was fine. 8 hours wouldn’t hurt this meat, and the 8-10 range, I would guess, seems about right.

Kroger these days is selling tri tip roasts in the 2 pound range. Trader Joes often has meat sales that involve tri tip steaks.

These we’ve added to the sous vide pot. The tri tip steak was an impulse buy because they were inexpensive, and the roast a somewhat later choice, when wanting a couple pounds of meat to last the week.

Tri tip steak at 4.5 hours was a little soft.

We cooked the steaks about 4.5 hours at 131 degrees. I didn’t mind the texture, but my daughter thought it was “granny food”. When looking about information for the roast, I saw times as short as an hour and as long as 52 hours. Obviously what you like in meat counts. One point of view, worth noting is:

Tri-Tip Roast is a tender cut of beef, mostly comprised of protein and fat. As a result, is best cooked by bringing it up to your desired temperature, but not letting it cook for an extended period of time.

Consequently, I cooked the roast about 2.5 hours. And it was just about perfect. There was no real need to go further with this roast.

Tri Tip roast at 2.5 hours and 131 degrees was just about ideal.

Both meats were dry spiced and cooked at 131 degrees. But if I were to do the steaks again, I’d keep them cooking no more than 2.5-3 hours.

To my readers, a belated apology. My wife has been ill, my house has had power and aircon issues, and when your house is broken, it becomes hard to cook and write about food. So we’ll talk a little sous-vide, things that have been building up, stuff I’ve observed, and the occasional incidental that may only pertain to the Snellville GA area as opposed to the much larger world of sous-vide cooking.

Gogi Brothers has closed. I enjoyed my stay there, but I was about the only one I know of who had a positive experience there. If you can’t please customers, it’s hard to stay open.

Fung Mei, which for a while was missing its Sichuan chef, has one now, and their version of “Shan City chicken” (Fung Mei calls it E1 on the Sichuan menu) is exceptionally good right now.

Fung Mei’s “E1” was blow you away good this last Father’s day.

Concerning the dish dry fried green beans: can anyone explain to me the move from spicing with Sichuan peppercorns to a less fiery garlic based set of ingredients? The garlic flavored green beans are good. but not as insanely good as the green beans I had on this visit to Fung Mei.

For the 4th, I prepped a pair of buffalo sirloins. This 8 ounce cut is rapidly becoming my go-to when I want a steak I don’t have to think about. Reliability, tenderness, rich flavors, and serving size about right are driving this. 3 to 5 hours at 131 with dry spices, and these meats are good to go.

Buffalo sirloins are grass fed and very reliable in a sous-vide pot.

When spicing more than one piece of meat, it’s faster if you’ll spice all of them at once on one side, flip all of them, and spice the other side. This approach saves time. Keeping a pot around on the stove, with scalding hot water, also makes it faster to equilibrate the sous-vide pot.

Bottom round roast, 16 hour sous-vide.

Recently I worked up another roast, this time a bottom round roast. I was going to cook it 30 hours, but cut the time short, to about 16 hours, when I found this article on a 10 hour bottom round roast. It ended up a nice cut of meat, some chew but definitely more tender than a stove roasted meat.

I’m beginning to think the 10-24 hour time frame is best for these kinds of meats, regardless. You’re guaranteed something you can eat and not think about it. The longer you go, the more likely it is you’ll get meats with a sawdust texture.

The malty chocolate overtones in this beer make it a creative alternative to another American pale ale or an overhopped IPA.

If you like malt forward beers, you might want to give New Belgium’s 1554 a try, whose malty chocolate overtones make it an alternative to yet another IPA.

Finally, for those of you who are interested in monitoring electricity use, or do some minor electrical work on your own, let’s introduce the common current clamp. Versions of these are available at Home Depot or Lowe’s, or can be purchased for about 50 dollars on Amazon.

A current clamp. It can be more useful to the cook than you might imagine.

The current clamp above came with this temperature probe. Claimed range is less than or equal to 400 C, plus minus 2.5 C.

This one, an Amazon purchase, comes with a temperature probe. That’s what lifts it above the fray for the interested cook. It becomes a dual purpose tool. The accuracy of this probe is 2.5 C, and that’s yet another way to double check the accuracy of your sous-vide device.

Triple checking the temperature in my sous-vide pot.

It could also be used as the main temperature probe in a beer cooler sous vide setup (see also here).

I had previously done a roast to a 48 hour limit, and found it to be good and tender, but also to suffer from a sawdust-like flavor and texture, a product perhaps of too much drying. I was also interested in Stefan Gourmet’s finding that sous-vide juices are much more usable after being heated and strained (Stefan also has a very usable vegetable stock recipe as well).

The roast used was a 3 pound chuck roast, which I squeezed into a quart Food Savr bag. It would have been better to use a custom bag, as the quart bag was a little small and it took work to seal it. Spicing was pretty simple. Onion and garlic powders, various peppers (cracked black pepper, red and cayenne pepper powder, paprika, crushed red peppers), slivers of garlic inserted into folds in the meat, thyme and rosemary, sage and parsley. Dry spices were used, as to not overpower the meat.

This was cooked at 131F for 22 hours. A buffalo steak was added at the same time, and fished out four hours later. The final product looked like this coming out of the pot.

The juices were saved, and looked a bit like this.

We heated the juices to almost a simmer, the pot turning into a scummy brown. This we then strained, using a collander and a pre-moistened paper towel (pre-moistening reduces liquid loss). We tried skimming, but as the scum retains considerable liquid, we later put everything into the collander and let it drain. This gave us perhaps a cup of clear colored liquid. This we treated as if it were a beef stock. It was sealed in a jar and placed in the refrigerator.

In the fridge, after a day, this liquid will turn cloudy. That’s not because of any bacterial growth, but the product gels a bit in the refrigerator.

Good roast. Some chew left, but tender and flavorful.

The roast we started eating immediately. It was good warm, perhaps better cold. I was lucky to have prepared it when I did, as the capacitor went out in the air conditioning and it was a couple days before we could get the aircon fixed. So, once the house was cool, we went about making a reduction of the liquid. To note, the liquid was gelatinous when fetched. Heat got rid of that in a couple minutes.

We set a pot on a simmer, and towards the end of the liquid loss, added slices of garlic, some dry thyme, some cracked pepper, some red wine, and some butter to the pot. The final product looked good. If I have any warning, taste test what you add to your liquid, and taste test the reduction itself. That would allow you to adjust for any off flavors.

Cold slices of roast with the final reduction.

The local supermarkets, perhaps encouraged by Nam Dae Mun, are now offering a more interesting selection of meats.

Buffalo sirloin.

I was curious about bison. Ted’s serves it, as did the now closed Ruby Tuesday. It tends to be tastier than beef, but in the portions shown, a bit expensive. 8 ounces of buffalo steak cost me about $6.80, close to 14 dollars a pound.

I prepped the steak in a traditional way, dry spicing before sealing in a pint bag. This went into the sous-vide pot for four and a half hours at 131 F. The result?

This was the most tender steak I’ve ever prepped by this method. Utterly delicious.

This is a topic, I’ll note, covered nicely on the Sous Vide Supreme blog, in a recipe supplied by Richard Blais, but my take on lamb as steaks is that you can treat them pretty much the way you would treat beef steak. This lamb was something of an impulse buy. I’m short of fresh herbs, so I made do with the powdered stuff I usually use on steaks these days.

I sealed the meat in a Food Saver bag. This isn’t necessary, a good Ziploc will do.

The steak was cooked at 130 for two hours, then 131 the remaining three. Note that with my setup (a PID controller), I have a peak temperature initially 2-3 degrees higher than my nominal setting. This steak peaked at 132 F. Afterwards it was spiced (kosher salt, cracked black pepper, garlic, onion powder, a little cracked red pepper)

then finished on the stove, 45 seconds a side at a high heat. With a red wine reduction, the final result looked something like this.

As a side, I tried a steamable edamame I found at the local grocer.

This product tasted better than it looked coming out of the microwave. Be warned.

Tried soon dubu again, this time with clams and some sirloin, and real home made soon dubu paste. The difference between home made and the commercial paste is pretty astounding. There are notable color differences, and all the futzing we did with flavor in the last batch almost completely went away.

Made with home made soon dubu paste.

One more chicken sous vide note: worked with a chicken breast at 146 degrees, starting from frozen, a breast that was frozen with three kinds of peppers, onion and garlic powder, and a little salt, and this was the best product yet. It was left in the pot for 1 hour, 50 minutes (1 hr 20m + 30m to defrost), and was uniformly juicy and flavorful. There was one ‘bad’ spot, a little bloody and I suspect near a vein of some kind. But otherwise, quite excellent.